

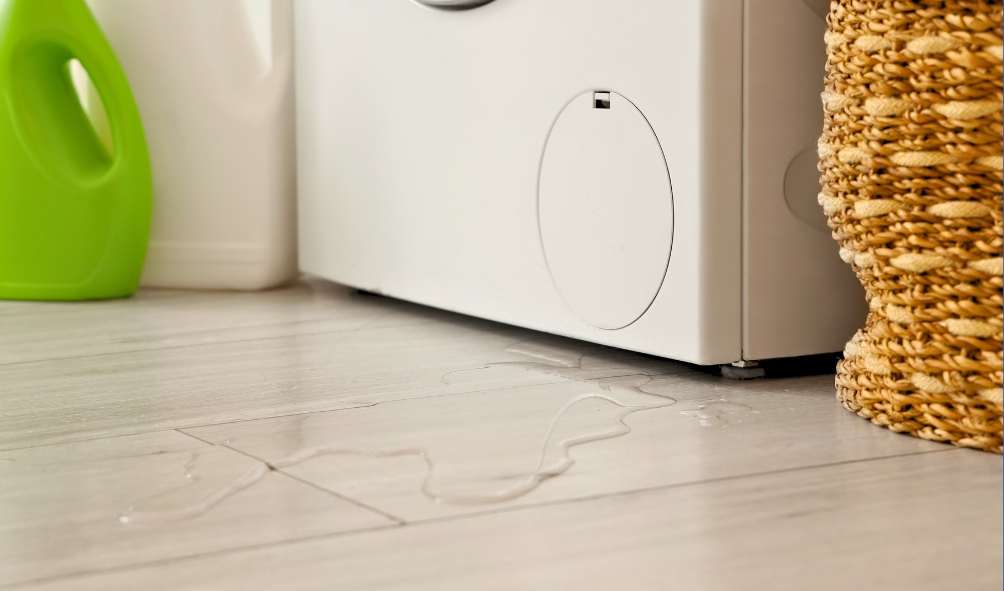
A puddle under your washing machine is never a good sign. The good news is that a bottom leak during a cycle usually has a diagnosable cause, and some of them you can fix yourself. The bad news is that several of those causes are easy to miss if you only check the obvious spots.
I've diagnosed bottom leaks on washers from brands like Whirlpool, LG, Samsung, and GE, and the culprit isn't always what homeowners expect. This guide walks through 9 causes I've seen in the field, including the ones most articles skip, so you can pinpoint what's happening with your machine.
Safety First: Before You Troubleshoot
Stop here before touching anything. Water and electricity are a dangerous combination. Follow these steps every single time before you inspect your washer.
-
Unplug the machine from the wall outlet. Do not rely on the power button alone.
-
Turn off the water supply valves behind the machine. Both hot and cold.
-
Dry the floor around the machine before getting on your knees to inspect underneath.
-
Do not reach into the drum or under the machine while it is still plugged in.
-
If you see water near the outlet or power cord, do not touch anything. Call a technician.
Some of the checks below require pulling the machine away from the wall or removing an access panel. If you're not comfortable doing that, stop there and call a pro. A certified washing machine repair technician can diagnose the leak safely and quickly.
Key Takeaways
-
The drain pump is the most common culprit. A cracked pump housing or clogged pump can push water out from the bottom during the spin cycle.
-
Hose connections fail silently. The fill hoses and internal drain hoses can loosen or crack without obvious visible damage from the outside.
-
Too much detergent causes real leaks. Excess suds can overflow internal components and drip to the floor, fooling you into thinking there's a mechanical failure.
-
The tub seal is easy to overlook. On front-loaders especially, a worn tub seal behind the drum lets water escape during agitation.
-
Overloading stresses the tub bearings. Heavy loads over time wear down the bearing seal, which eventually lets water through.
-
The door boot gasket can crack from mold. On front-loaders, a moldy or torn door gasket is a common leak point that sits right at floor level.
-
Internal hose clamps loosen over time. These are invisible from the outside but are a frequent cause of bottom leaks on machines older than five years.
-
When in doubt, call a tech. Some causes require disassembly. If you can't pinpoint the source, stop and get a professional diagnosis before the leak causes floor damage.
Common Causes (and the Ones Most People Miss)
1. Drain Pump Failure or Clog
The drain pump sits at the very bottom of your washer. Its job is to push water out of the tub and into your drain line. When the pump housing cracks, or when debris jams the impeller inside it, water backs up and leaks out from the bottom, usually during the spin or drain cycle.
What you'll notice: The leak tends to happen toward the end of the wash cycle, not at the beginning. You may also hear a grinding or humming noise as the pump struggles.
How to troubleshoot:
-
Unplug the machine and shut off the water supply.
-
Pull the washer away from the wall.
-
On front-loaders, locate the small access panel near the bottom front. On top-loaders, you may need to tip the machine back carefully.
-
Look for the pump housing. Check for visible cracks, loose hose connections to the pump, and any debris (coins, lint, buttons) caught in the filter or impeller.
-
Clean the pump filter if your model has one. Many front-loaders have a coin trap here.
Tools you'll need: Flashlight, towels (there will be residual water), flathead screwdriver, needle-nose pliers to remove debris.
2. Loose or Cracked Fill Hoses
The two fill hoses connect your home's water supply to the back of the washer. Over time, the rubber degrades and the connections at either end can loosen. A slow drip at the connection point runs down the back of the machine and pools under it, making it look like the leak is coming from the bottom.
What you'll notice: The leak happens at the start of the cycle, when water is first filling the tub. The floor behind the machine may be wetter than the floor in front.
How to troubleshoot:
-
Pull the machine away from the wall.
-
With a flashlight, inspect both ends of each hose: where they connect to the wall valves and where they connect to the washer.
-
Look for mineral deposits, cracks in the rubber, or loose fittings.
-
Hand-tighten any loose connections. If the hose is cracked or the rubber is brittle, replace it.
Tools you'll need: Flashlight, adjustable pliers or channel-lock pliers, replacement hoses if needed (braided stainless steel hoses are more durable than rubber).
3. Internal Drain Hose Connections
This is one of the most overlooked causes. Inside your washer, there are hoses that route water from the tub to the drain pump and from the pump to the external drain line. These connections are secured with hose clamps. Over years of vibration, those clamps loosen, and the hose can slip just enough to drip during cycles.
What you'll notice: The leak is slow and consistent. It often shows up as a small puddle that doesn't seem to match any obvious external component.
How to troubleshoot:
-
This check requires removing the back panel (top-loaders) or the front lower panel (front-loaders).
-
With the machine unplugged, trace each internal hose from the tub to the pump and from the pump to the drain outlet.
-
Look for wet spots, mineral staining, or loose clamps at each connection.
-
Tighten any loose clamps with a screwdriver. Replace hoses that show cracking or swelling.
Tools you'll need: Flashlight, Phillips and flathead screwdrivers, hose clamp pliers (optional but helpful), replacement hose clamps.
4. Worn Tub Seal (Tub Bearing Seal)
Behind the drum, there's a seal that keeps water inside the tub while the drum spins. When this seal wears out, water escapes during agitation or spin and drips down to the floor. This is more common on machines that are five or more years old and on machines that are regularly overloaded.
What you'll notice: A slow, steady drip that's worst during the spin cycle. You may also notice a rumbling or grinding noise, which means the bearing itself is worn and the seal failure is advanced.
Why people miss it: The leak point is deep inside the machine. It doesn't show up at any external connection, so it looks like the washer is mysteriously leaking from nowhere.
How to troubleshoot: This repair typically requires significant disassembly. It's worth confirming the diagnosis first.
-
Run a short cycle and use a flashlight to look under the machine while it runs (from a safe distance, with the machine plugged in only for this test).
-
If you see water dripping from the center underside of the machine, not from any hose or pump, the tub seal is the likely cause.
-
Replacing a tub seal is a labor-intensive repair. Most homeowners should call a technician at this point.
Tools for diagnosis: Flashlight, mirror (to see under the machine without crawling under it while it runs).
5. Door Boot Gasket (Front-Loaders Only)
The door boot gasket is the rubber seal that runs around the inside of the door opening on a front-load washer. It creates a watertight seal when the door closes. Over time, it accumulates mold and mildew, which breaks down the rubber. Small tears or folds in the gasket let water escape during the wash cycle.
What you'll notice: Water on the floor directly in front of the machine. You may see visible mold, tears, or debris caught in the folds of the gasket.
How to troubleshoot:
-
Open the washer door and inspect the entire gasket, including the folds at the bottom.
-
Look for tears, holes, or areas where the gasket has pulled away from the drum opening.
-
Check for foreign objects (socks, small garments) lodged in the gasket folds, which can prevent a proper seal.
-
If the gasket is intact but moldy, clean it thoroughly with a diluted bleach solution or a washer cleaner. If it's torn, it needs to be replaced.
Tools you'll need: Flashlight, gloves, washer cleaner or diluted bleach for cleaning, flathead screwdriver to seat the gasket if it's slipped out of its retaining ring.
6. Too Much Detergent (Suds Overflow)
This one surprises people. Using too much detergent, or using regular detergent in a high-efficiency (HE) machine, generates excessive suds. Those suds can overflow the tub and push water through gaps in the machine that wouldn't normally leak. It looks exactly like a mechanical failure.
What you'll notice: Suds or soapy water on the floor. The leak may not happen on every cycle, only on heavy or warm-water loads where suds build up fastest.
How to troubleshoot:
-
Run a cycle with no clothes and no detergent. If there are no suds and no leak, detergent is the likely cause.
-
Check whether your machine requires HE detergent. If it does, confirm you're using the correct type.
-
Reduce the amount of detergent you use. Most machines need far less than the cap line suggests, especially with soft water.
Tools you'll need: None. This is a behavioral fix, not a mechanical one.
7. Cracked or Overflowing Detergent Drawer (Front-Loaders)
The detergent drawer feeds water and soap into the drum through a small channel. If the drawer is cracked, clogged with detergent buildup, or overfilled, water can overflow the drawer housing and run down the front of the machine to the floor.
What you'll notice: Water near the front of the machine, often with soap residue. The drawer itself may show residue buildup or cracking.
How to troubleshoot:
-
Pull the detergent drawer out completely. Most front-loaders have a release tab inside the drawer.
-
Inspect the drawer for cracks and clean out any hardened detergent buildup.
-
Inspect the drawer housing cavity with a flashlight for mold or blockages in the water inlet ports.
-
Clean the drawer and housing thoroughly. Replace the drawer if it's cracked.
Tools you'll need: Flashlight, old toothbrush or small cleaning brush, warm water.
8. Loose or Damaged Water Inlet Valve
The water inlet valve is the component that controls water flow into the machine. It sits at the back where the fill hoses connect. If the valve body cracks (which can happen from water hammer or age), or if the connection at the valve is loose, it can drip water down the back of the machine and onto the floor.
What you'll notice: The leak happens during the fill portion of the cycle. You may see water behind the machine, not in front.
How to troubleshoot:
-
Pull the machine away from the wall and inspect the inlet valve where the hoses connect.
-
Look for mineral deposits, cracks in the plastic valve body, or wet spots on the valve itself.
-
A cracked valve body needs to be replaced. This is a moderately involved repair but doable for a confident DIYer.
Tools you'll need: Flashlight, adjustable pliers, screwdriver, replacement inlet valve (match your model number).
9. Overloading and Tub Imbalance (Less Obvious Long-Term Cause)
Consistently overloading your washer doesn't just stress the motor. It forces the tub to wobble off-balance during the spin cycle. Over time, that wobble puts stress on the tub bearings and the tub seal, accelerating their wear. It can also cause the machine to walk across the floor, stressing hose connections.
What you'll notice: The leak is gradual and worsens over months. You may notice the machine vibrates more than it used to, and the leak gets worse on larger loads.
How to troubleshoot:
-
Check your load sizes. Most washers should be filled no more than three-quarters full.
-
Level the machine using a bubble level. Adjust the leveling feet as needed.
-
If the machine has been consistently overloaded, inspect the tub seal and bearings as described above.
Tools you'll need: Bubble level, adjustable wrench to adjust leveling feet.
How to Narrow Down the Source of the Leak
Not sure which cause applies to your machine? Use this quick reference to narrow it down before you start pulling panels.
| When does the leak happen? | Where is the water? | Most likely cause |
|---|---|---|
| Start of cycle (fill phase) | Behind the machine | Fill hoses or inlet valve |
| Start of cycle (fill phase) | Front of machine | Detergent drawer overflow |
| During wash / agitation | Center underside | Tub seal |
| During wash / agitation | Front of machine | Door boot gasket (front-loaders) |
| End of cycle (spin/drain) | Center or front underside | Drain pump |
| Any cycle, soapy water | Anywhere | Excess detergent / suds |
| Slow drip, no obvious source | Underside of machine | Internal hose clamp |
| Leak worsens with bigger loads | Underside of machine | Tub bearing seal, overloading |
Quick tip: Place dry paper towels under the machine in different spots before running a short cycle. After the cycle, check which towels are wet. The location of the wet towel tells you a lot about where the leak is coming from.
Frequently Asked Questions
Why does my washing machine only leak sometimes and not every cycle?
Intermittent leaks are usually tied to load size, water temperature, or detergent amount. Large loads create more tub movement and suds, which can push water past a marginally worn seal or a loose clamp that wouldn't leak under normal conditions. Start by running a small load with less detergent and see if the leak stops.
Can a washing machine leak from the bottom without any visible damage to hoses?
Yes. Internal hose clamps and the tub bearing seal are both hidden from view and can fail without any external sign of damage. If you've checked all the visible connections and can't find the source, the leak is likely internal and will require panel removal to diagnose.
Is it safe to keep using my washing machine if it's leaking?
No. Even a slow leak can warp flooring, cause mold growth under the machine, and create an electrical hazard if water reaches the motor or wiring. Stop using the machine until the leak is identified and repaired.
How do I know if the leak is from the washer itself or from the drain standpipe?
If water is coming from the standpipe (the pipe your drain hose inserts into), it's usually a drain backup or a clog in your home's plumbing, not a washer problem. Check whether the water is coming from the hose-to-standpipe connection. If the standpipe is overflowing, the issue is your drain line, not the machine.
How much does it cost to repair a washing machine that leaks from the bottom?
It depends heavily on the cause. Replacing fill hoses is a low-cost fix. Cleaning a pump filter or tightening a hose clamp costs almost nothing. Replacing a tub seal or drain pump is a more involved repair that typically requires a technician. If you're in Greenville or the surrounding area, our team at Appliance GrandMasters provides upfront pricing before any work begins.
Does overloading really cause leaks?
Over time, yes. A single overloaded cycle won't cause immediate damage, but chronic overloading accelerates wear on the tub bearings and tub seal. Once those components fail, you'll get a persistent bottom leak that worsens with every wash.
When to Stop Troubleshooting and Call a Tech
Some leaks are a straightforward DIY fix. Others require disassembly, specialized tools, or parts that are hard to source without a model number lookup. Here's when it's time to stop and call a professional:
-
You've checked all visible hoses and connections and can't find the source.
-
The leak is coming from the center underside of the machine (tub seal or bearing).
-
You hear grinding or rumbling during the spin cycle alongside the leak.
-
The machine requires significant disassembly to access the suspected component.
-
Water has reached the electrical components or power cord.
Bottom line: A bottom leak that you can't trace to a visible hose or connection usually means an internal component has failed. Continuing to run the machine risks floor damage and, in some cases, a safety hazard.
If you're in Greenville, SC or the surrounding Upstate area, the team at Appliance GrandMasters can diagnose and repair washing machine leaks the same day or next day, with upfront pricing and no surprise charges.