It could be a sign that the bearings are on their last legs. Replacing a bearing on a washing machine might sound like a daunting task, but with the right guidance, it can be manageable.
In this article, we’ll walk you through identifying faulty bearings, the tools you’ll need, and the steps to replace them. Let’s dive in!
Get your washing machine working in no time. Call the experts now.
This guide is for informational purposes only and is intended to share knowledge on replacing washing machine bearings. If you decide to attempt this repair, you do so at your own risk. Appliance owners should always prioritize safety and follow the manufacturer’s instructions. If you’re uncertain or uncomfortable with any step, consider calling a professional technician.
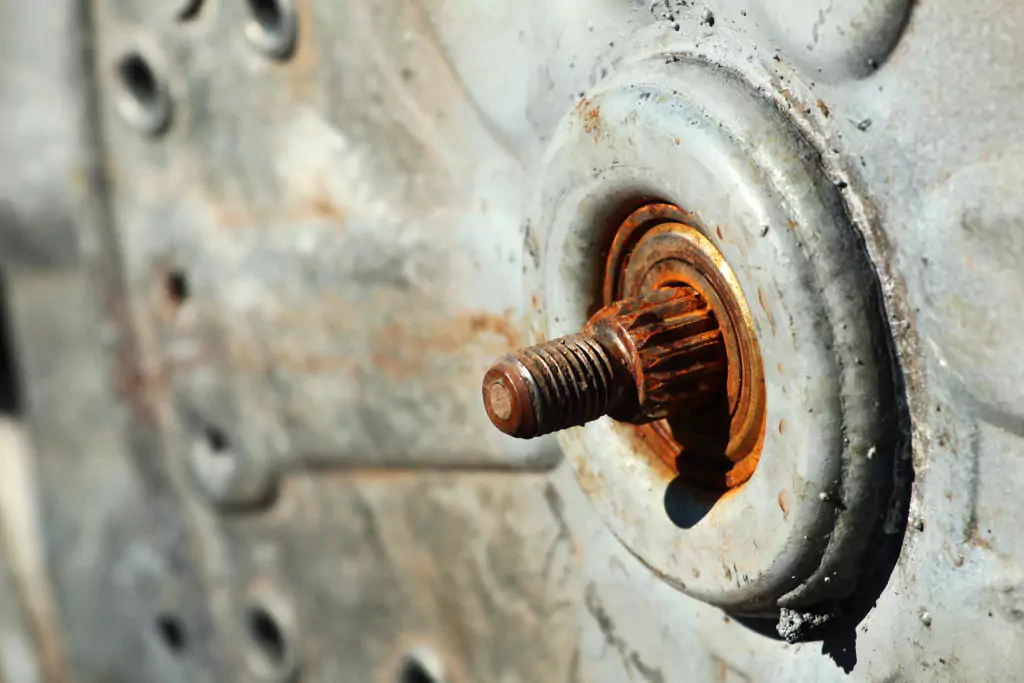
Bearings are an essential component of your washing machine, helping the drum spin smoothly. When they start to fail, you’ll notice several warning signs:
While the symptoms above often point to bad bearings, other issues could be at play. Here are some symptoms that can be confused with faulty bearings:
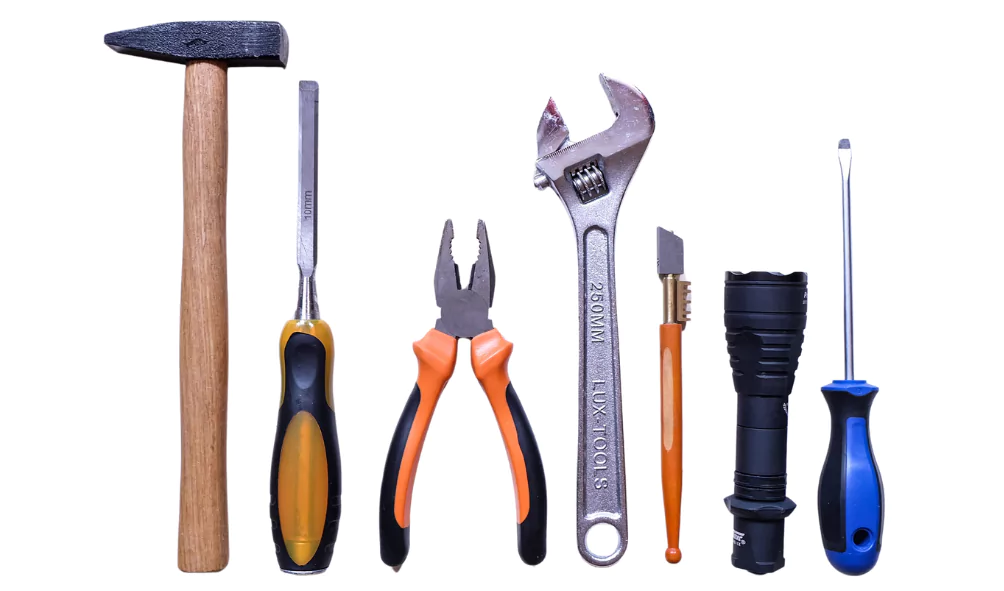
Before starting, gather all the necessary tools and safety equipment. Here’s a list to help you prepare:
Replacing the bearings in your washing machine involves several steps. Follow this guide carefully:
Safety first! Disconnect the washing machine from the power source and turn off the water supply to prevent accidents.
Using a screwdriver, remove the screws holding the back panel of the washing machine. Gently take off the panel to access the drum and bearings.
Locate the drum belt and pulley. Remove the belt from the pulley, and use a wrench to unscrew the bolt holding the pulley in place. Carefully remove the pulley to expose the drum shaft.
With the pulley removed, carefully disconnect any hoses or electrical connections attached to the drum. Pull the drum out of the washing machine cabinet to access the bearings.
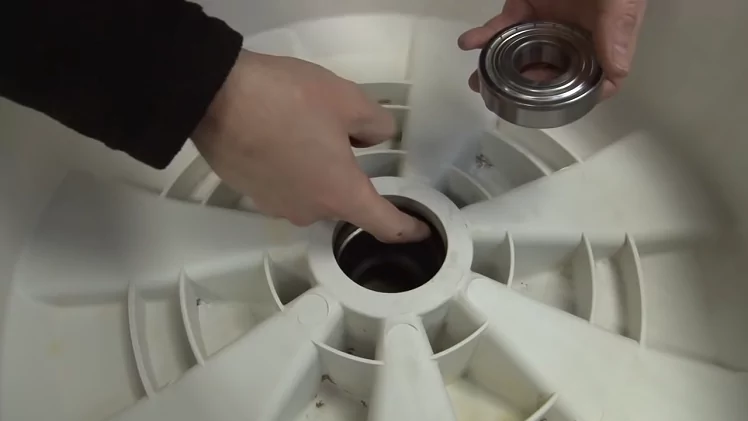
Use a bearing puller or a hammer and chisel to remove the old bearings from the drum shaft. Be cautious and take your time to avoid damaging the drum.
Before installing new bearings, clean the bearing housing thoroughly with a cloth to remove any dirt, grease, or debris.
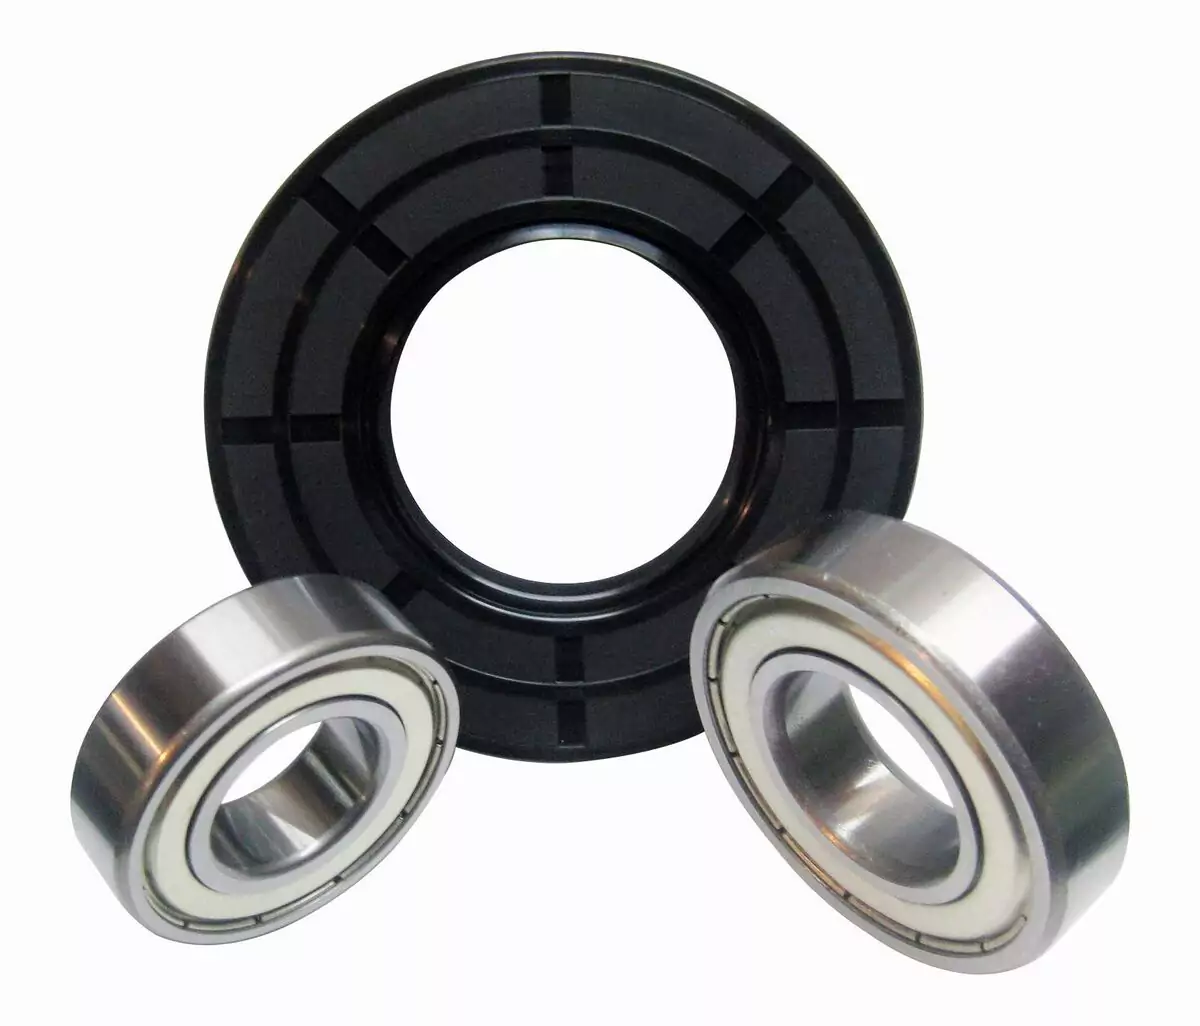
Apply a small amount of lubricant or penetrating oil to the new bearings. Align them correctly with the bearing housing and gently tap them into place using a rubber mallet. Ensure they are seated firmly and evenly.
Reattach the drum to the washing machine cabinet and reconnect any hoses or electrical connections. Reinstall the pulley and drum belt, and then secure the back panel with screws.
Plug the washing machine back into the power source and turn on the water supply. Run a short cycle to check for any leaks or unusual noises.
Taking care of your washing machine can extend the life of the bearings and reduce the need for replacements:
If replacing the bearings seems too complicated or if you’re not confident in your ability to do it safely, it’s best to call a professional technician. Appliance GrandMasters in Greenville, SC, specializes in washing machine repair and can handle bearing replacements and other maintenance tasks with expertise.
Replacing the bearings on a washing machine can be a challenging task, but it’s manageable with the right tools and guidance. Always prioritize safety and consider seeking professional help if you’re unsure. Regular maintenance is key to preventing damage and extending the lifespan of your washing machine.
If you need professional help, don’t hesitate to contact Appliance GrandMasters for expert washing machine and appliance repair services.
Don’t stress. Appliance GrandMasters provides professional appliance repair, maintenance and installation services to keep your appliances in top condition. Let our skilled technicians handle the work, ensuring your appliances run smoothly and efficiently. Contact us today for all your appliance repair needs in Greenville.
Get professional home appliance Repairs, maintenance & Installation now!
No worries! We’ve got you covered.
At Appliance GrandMasters, we’ve got your back. Let the experts handle it, so you can enjoy the convenience of smoothly running appliances without the DIY stress.
Our Appliance Repair & Maintenance Service Area
Greenville, Greer, Taylors, Simsponville, Mauldin, Easley, Pickens, Liberty, Pelzer, Williamston, Spartanburg, Honea Path, Belton, Piedmont, Travelers Rest, Wellford, Fountain Inn, Moore, Reidville, Duncan, Lyman, Boiling Springs, Inman, Campobello, Landrum
Formerly known as Mr. Rogers Appliances, we rebranded our appliance repair company to Appliance GrandMasters in June 2020. Since then, we have focused on developing our brand to be customer-oriented.
Fixing appliances has become a passion for us. We enjoy challenges and we are always studying to become the very best.
We accomplish swift and top-notch service by employing efficient and friendly customer service procedures that guarantee accurate answers and solutions.
Our approach involves the careful selection and comprehensive training for the necessary skills to fulfill our customers’ needs. Through these strategies, we strive to consistently provide exceptional service.