we are

Appliance GrandMasters

LG Washing Machine Error Codes: Front Load Washer

Front-load washers are renowned for their efficiency and gentle treatment of clothes, but like any appliance, they can experience issues that are indicated by specific error codes.

Understanding these LG washing machine error codes can help you troubleshoot and potentially fix problems without needing professional intervention.

This article will cover common error codes for LG front-load washers, their causes, and DIY tips for addressing them. For professional help, Appliance GrandMasters offers expert LG washer repair services in Greenville, SC.

In case you missed it...

LG Washing Machine Error Codes not going away? Call Appliance GrandMasters Now!

lg washing machine error codes display
Image Credits: LG

Common LG Washing Machine Error Codes for Front Load Washers

Now, here we share the official codes and what you can do about it before calling a professional appliance repair technician. Keep in mind that some repairs and troubleshoot might require you to keep some safety measures when there are electrical components. If so, reach to a professional.

OE (Drain Error)

Cause: The washer is experiencing difficulty draining water.

DIY Advice:

  • Examine the Drain Hose: Look over the drain hose for any twists, bends, or blockages that might be causing the drainage issue. Remove the hose from the back of the washer and check for clogs. If you discover any debris, make sure to remove it completely. Ensure the hose is not kinked and is positioned correctly to allow proper water flow. If the hose is worn or broken, install a new one.


IE (Inlet Water Supply Error)

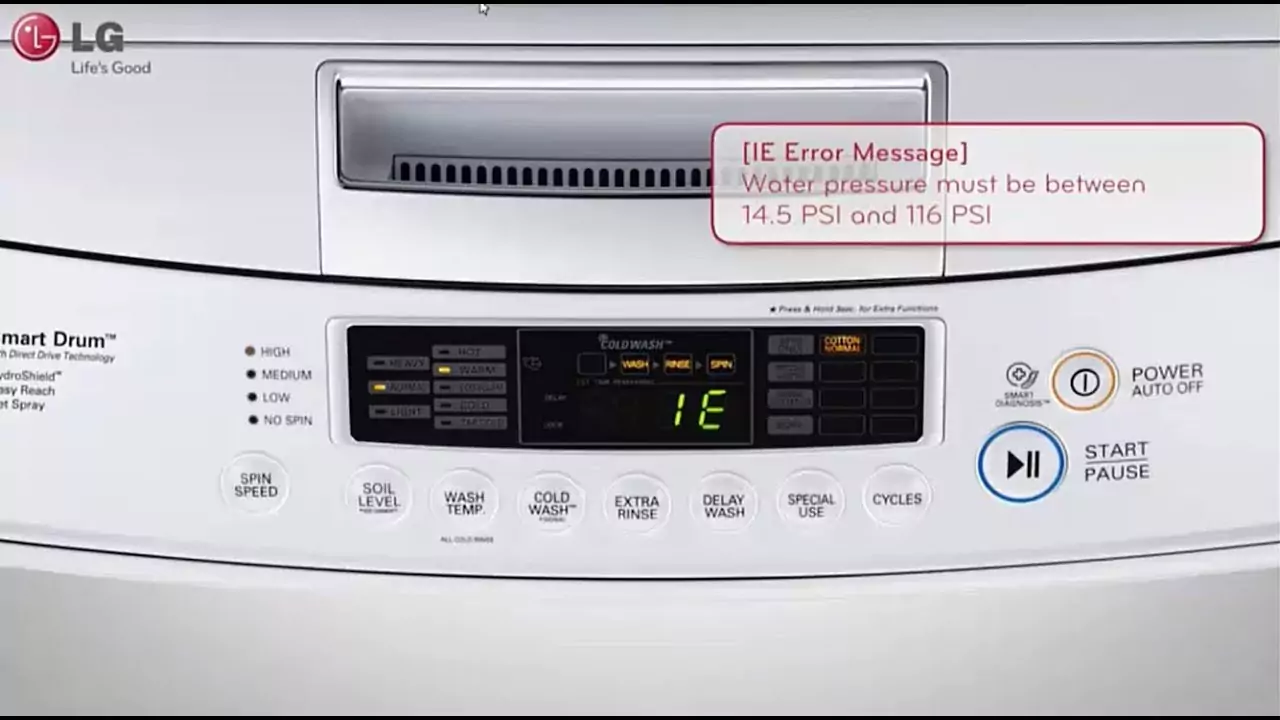
Cause: There is an issue with the water supply entering the washer.

DIY Advice:

  • Check the Inlet Hoses: Inspect the inlet hoses to ensure they are free from twists or obstructions. Disconnect the hoses and look for any blockages or kinks. If you find any, straighten them out or replace the hoses if they are damaged.
  • Clean the Water Inlet Filters: The water inlet filters can become clogged with sediment and debris over time. Remove the filters and clean them under running water to remove any buildup. Put the filters back in place and reattach the hoses.


FE (Water Overflow Error)

Cause: The washer is detecting an overflow of water.

DIY Advice:

  • Inspect the Inlet Valves: Check the water inlet valves for any defects or damage. These valves control the flow of water into the washer, and if they are malfunctioning, they can cause an overflow. If you notice any issues, replace the inlet valves with new ones.


UE (Unbalanced Load)

Cause: The load in the washer is unbalanced.

DIY Advice:

  • Redistribute the Clothes: Open the washer and redistribute the garments evenly inside the drum. Make sure heavy items are balanced with lighter ones to prevent the washer from becoming unbalanced.
  • Add More Items: If you are washing a small load, the washer might have difficulty balancing it. Add a few more items to help distribute the weight evenly.
  • Level the Washer: Ensure the washer is level on the floor. Use a level to check the balance and adjust the washer’s feet as needed.


dE (Door Error)

Cause: The washer door is not closed properly.

DIY Advice:

  • Check the Door for Obstructions: Make sure there are no clothes or other items obstructing the door from closing properly. Remove any items blocking the door and attempt to close it once more.
  • Inspect the Door Seal: Examine the door seal for any signs of damage or wear. If the seal is damaged, it might prevent the door from closing securely. Replace the door seal if necessary.


PE (Water Level Sensor Failure)

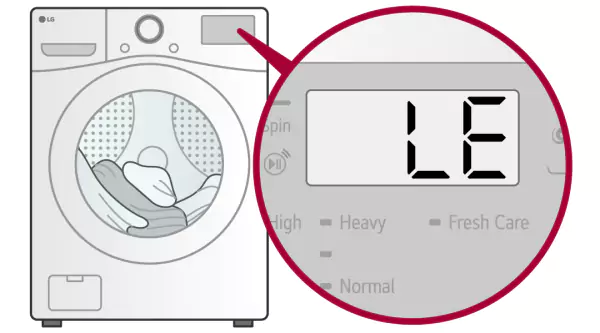
Cause: There is an issue with the water level sensor.

DIY Advice:

  • Inspect the Sensor Connections: Check the connections to the water level sensor for any signs of damage or loose connections. Ensure all wires are securely connected.
  • Replace the Water Level Sensor: If the sensor itself is faulty, you will need to replace it. Disconnect the old sensor and install a new one, making sure all connections are secure.


tE (Heating Sensor Error)

Cause: There is a problem with the heating sensor.

DIY Advice:

  • Check the Thermistor Connections: Inspect the connections to the thermistor and heating element. Ensure that all wires are connected securely and there are no signs of damage.
  • Replace the Thermistor or Heating Element: If the connections are secure but the error persists, you may need to replace the thermistor or heating element. Follow the manufacturer’s instructions for replacing these components.


LE (Locked Drive Motor Error)

Cause: The drive motor is experiencing issues.

DIY Advice:

  • Inspect the Motor Connections: Check the wire harness connections on the motor and hall sensor for any loose or damaged wires. Secure any loose connections and replace any damaged components.
  • Replace the Motor Components: If the motor or hall sensor is defective, you will need to replace them. Remove the old components and install new ones, ensuring all connections are secure.


EE (EEPROM Error on Control Board)

Cause: There is a memory error on the control board.

DIY Advice:

  • Reset the Washer: Try resetting the washer by disconnecting it from the power source for a few minutes. Reconnect the power and see if the error persists.
  • Replace the Control Board: If the error continues after resetting, you may need to replace the control board. Follow the manufacturer’s instructions to install a new control board.


PF (Power Failure)

Cause: The washer experienced a power failure.

DIY Advice:

  • Restart the Wash Cycle: Simply restart the wash cycle to clear the error. If the power failure was due to an outage, ensure power is restored before restarting.


CE (Electrical Current Error)

Cause: There is an electrical current issue.

DIY Advice:

  • Check for Power Surges: Ensure there have been no recent power surges that might have caused the error. If a power surge is suspected, use a surge protector to prevent future issues.
  • Inspect Electrical Connections: Look for any loose or damaged electrical connections within the washer. Tighten any loose connections and replace any damaged wiring.
  • Replace Defective Parts: If the error persists, replace any components that might be causing the electrical issue.


tCL (Tub Clean Cycle)

Cause: The washer indicates that it needs a tub clean cycle.

DIY Advice:

  • Run a Tub Clean Cycle: Use bleach to run a tub clean cycle. This will help remove any residue or buildup inside the drum, keeping your washer clean and efficient.


CL (Child Lock Feature Activated)

Cause: The child lock feature is activated, preventing the washer from operating.

DIY Advice:

  • Deactivate the Child Lock: Press and hold the child lock button for three seconds to deactivate the feature. This allows you to resume normal washer operation.
lg washing machine error codes in dsiplay real
Image Credits: LG

When to Call a Professional

While many of these issues can be resolved with DIY troubleshooting, some problems may require professional assistance. If you encounter persistent errors or are unsure how to fix the issue, it’s best to consult with a professional technician.

For reliable and authorized LG washing machine repairs, Appliance GrandMasters in Greenville, SC, is here to help. Our experienced technicians can quickly diagnose and repair any issues with your LG washer, ensuring it operates efficiently and effectively.

Conclusion

Understanding LG washing machine error codes can help you troubleshoot and resolve many common problems with your front-load washer. By following the DIY tips provided, you can address issues promptly and maintain the efficiency of your appliance.

However, for more complex problems or persistent error codes, professional assistance may be necessary. Appliance GrandMasters offers expert appliance repair services in Greenville, SC, providing reliable solutions to keep your LG washing machine running smoothly.

AGM Favicon Logo

Expert Appliance Repairs

Don’t stress. Appliance GrandMasters provides professional appliance installation and repair services to keep your appliances in top condition. Let our skilled technicians handle the work, ensuring your appliances run smoothly and efficiently. Contact us today for all your appliance repair needs in Greenville.

Get professional home appliance Repairs, maintenance & Installation now!

No worries! We’ve got you covered.
At Appliance GrandMasters, we’ve got your back. Let the experts handle it, so you can enjoy the convenience of smoothly running appliances without the DIY stress.

Our Appliance Repair & Maintenance Service Area

Greenville, Greer, Taylors, Simsponville, Mauldin, Easley, Pickes, Liberty, Pelzer, Williamston, Spartanburg, Honea Path, Belton, Piedmont, Travelers Rest, Wellford, Fountain Inn, Moore, Reidville, Duncan, Lyman, Boiling Springs, Inman, Campobello, Landrum

About Appliance GrandMasters

agm rebranding

Formerly known as Mr. Rogers Appliances, we rebranded our appliance repair company to Appliance GrandMasters in June 2020. Since then, we have focused on developing our brand to be customer-oriented. 

Fixing appliances has become a passion for us. We enjoy challenges and we are always studying to become the very best.

We accomplish swift and top-notch service by employing efficient and friendly customer service procedures that guarantee accurate answers and solutions. 

Our approach involves the careful selection and comprehensive training for the necessary skills to fulfill our customers’ needs. Through these strategies, we strive to consistently provide exceptional service.